Description
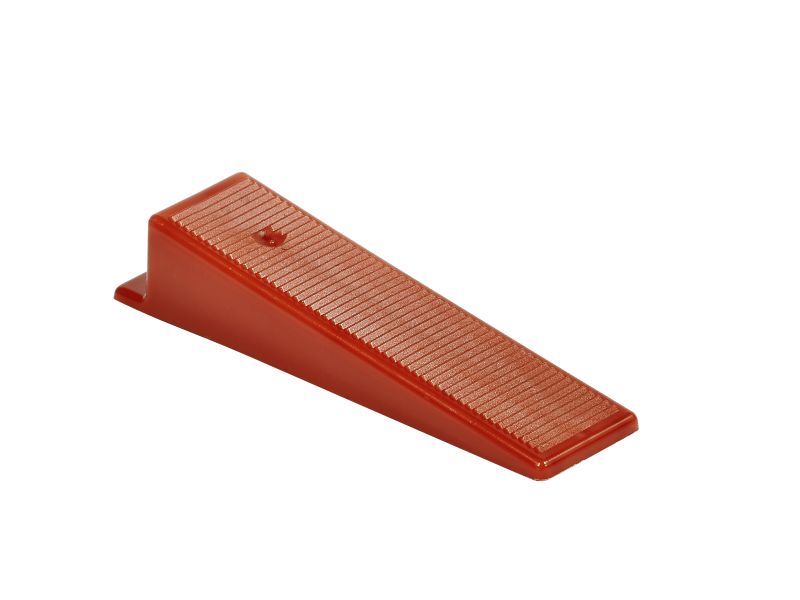
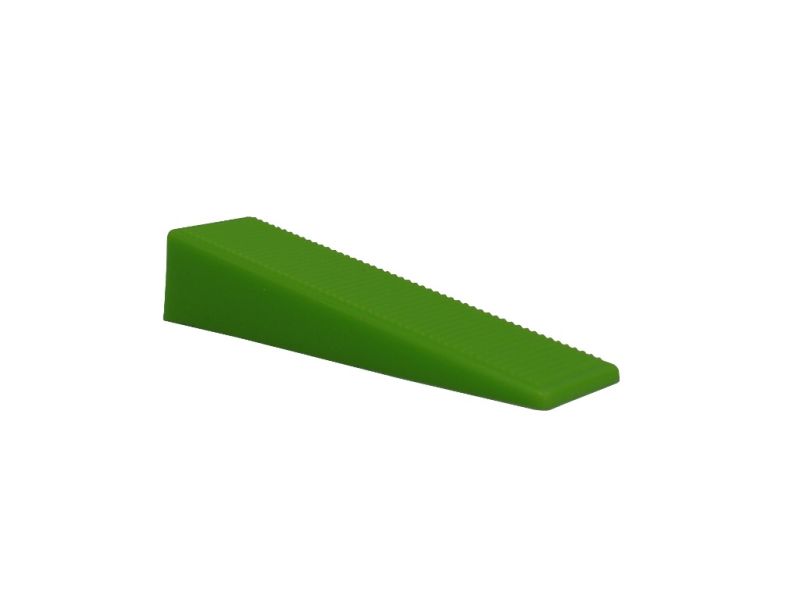
How to create the perfect finish with Raimondi wedges
Step 1
Spread the tile adhesive and lay the tile, then position the Raimondi clips beneath the edge of the tile. The clip will act as a spacer when pressed firmly against the tile.
Step 2
Set the adjacent tile firmly into the adhesive, butted against the Raimondi clip. Then slide the Raimondi wedges through the clip until both tiles are firmly levelled.
Step 3
Once the tiles are locked in place, the clips and wedges need to stay in position until the adhesive sets. The joint width can be adjusted slightly during setting, without disrupting the height of the tiles.
Step 4
Once the adhesive is set the Raimondi wedges can be removed using a rubber mallet. The clips should be hit in the direction of the tile joint, where they will dislodge from the breakpoint below the tile ready for grouting.


