Floorboards can be a stunning feature in a home; however, the durability, versatility and practicality of tiles are often a preferred choice. So, if you are wondering if it is possible to tile onto your floorboards, the answer is yes, but you will need to overcome issues relating to the movement of the boards below the tiles.
The wooden floorboards cannot be tiled onto directly, but there is no need to rip the flooring out and replace with concrete. In our latest blog, we take a closer look at tiling on top of wooden floorboards, so that you know exactly what tools, equipment and method you need to follow for a professional tile installation.
Step 1: Fix any major defects within the floorboards
Remove any furniture from the area and inspect the floorboards, if there are any boards which are creaking badly or cracked, these will need to be replaced or repaired. In many cases simply adding further screws through the boards which run across joists can improve stability.
Step 2: Lay a tile backer board
In the past, plywood or chipboard was often used, however the quality has decreased in recent years and the boards are also prone to absorbing moisture. In 2018 these materials were removed from BS 5385 as a recommended material for use when tiling walls, and although the boards can still be used as an overlay over existing timber floors, they must be at least 15mm thick, high-quality and only used in small areas.
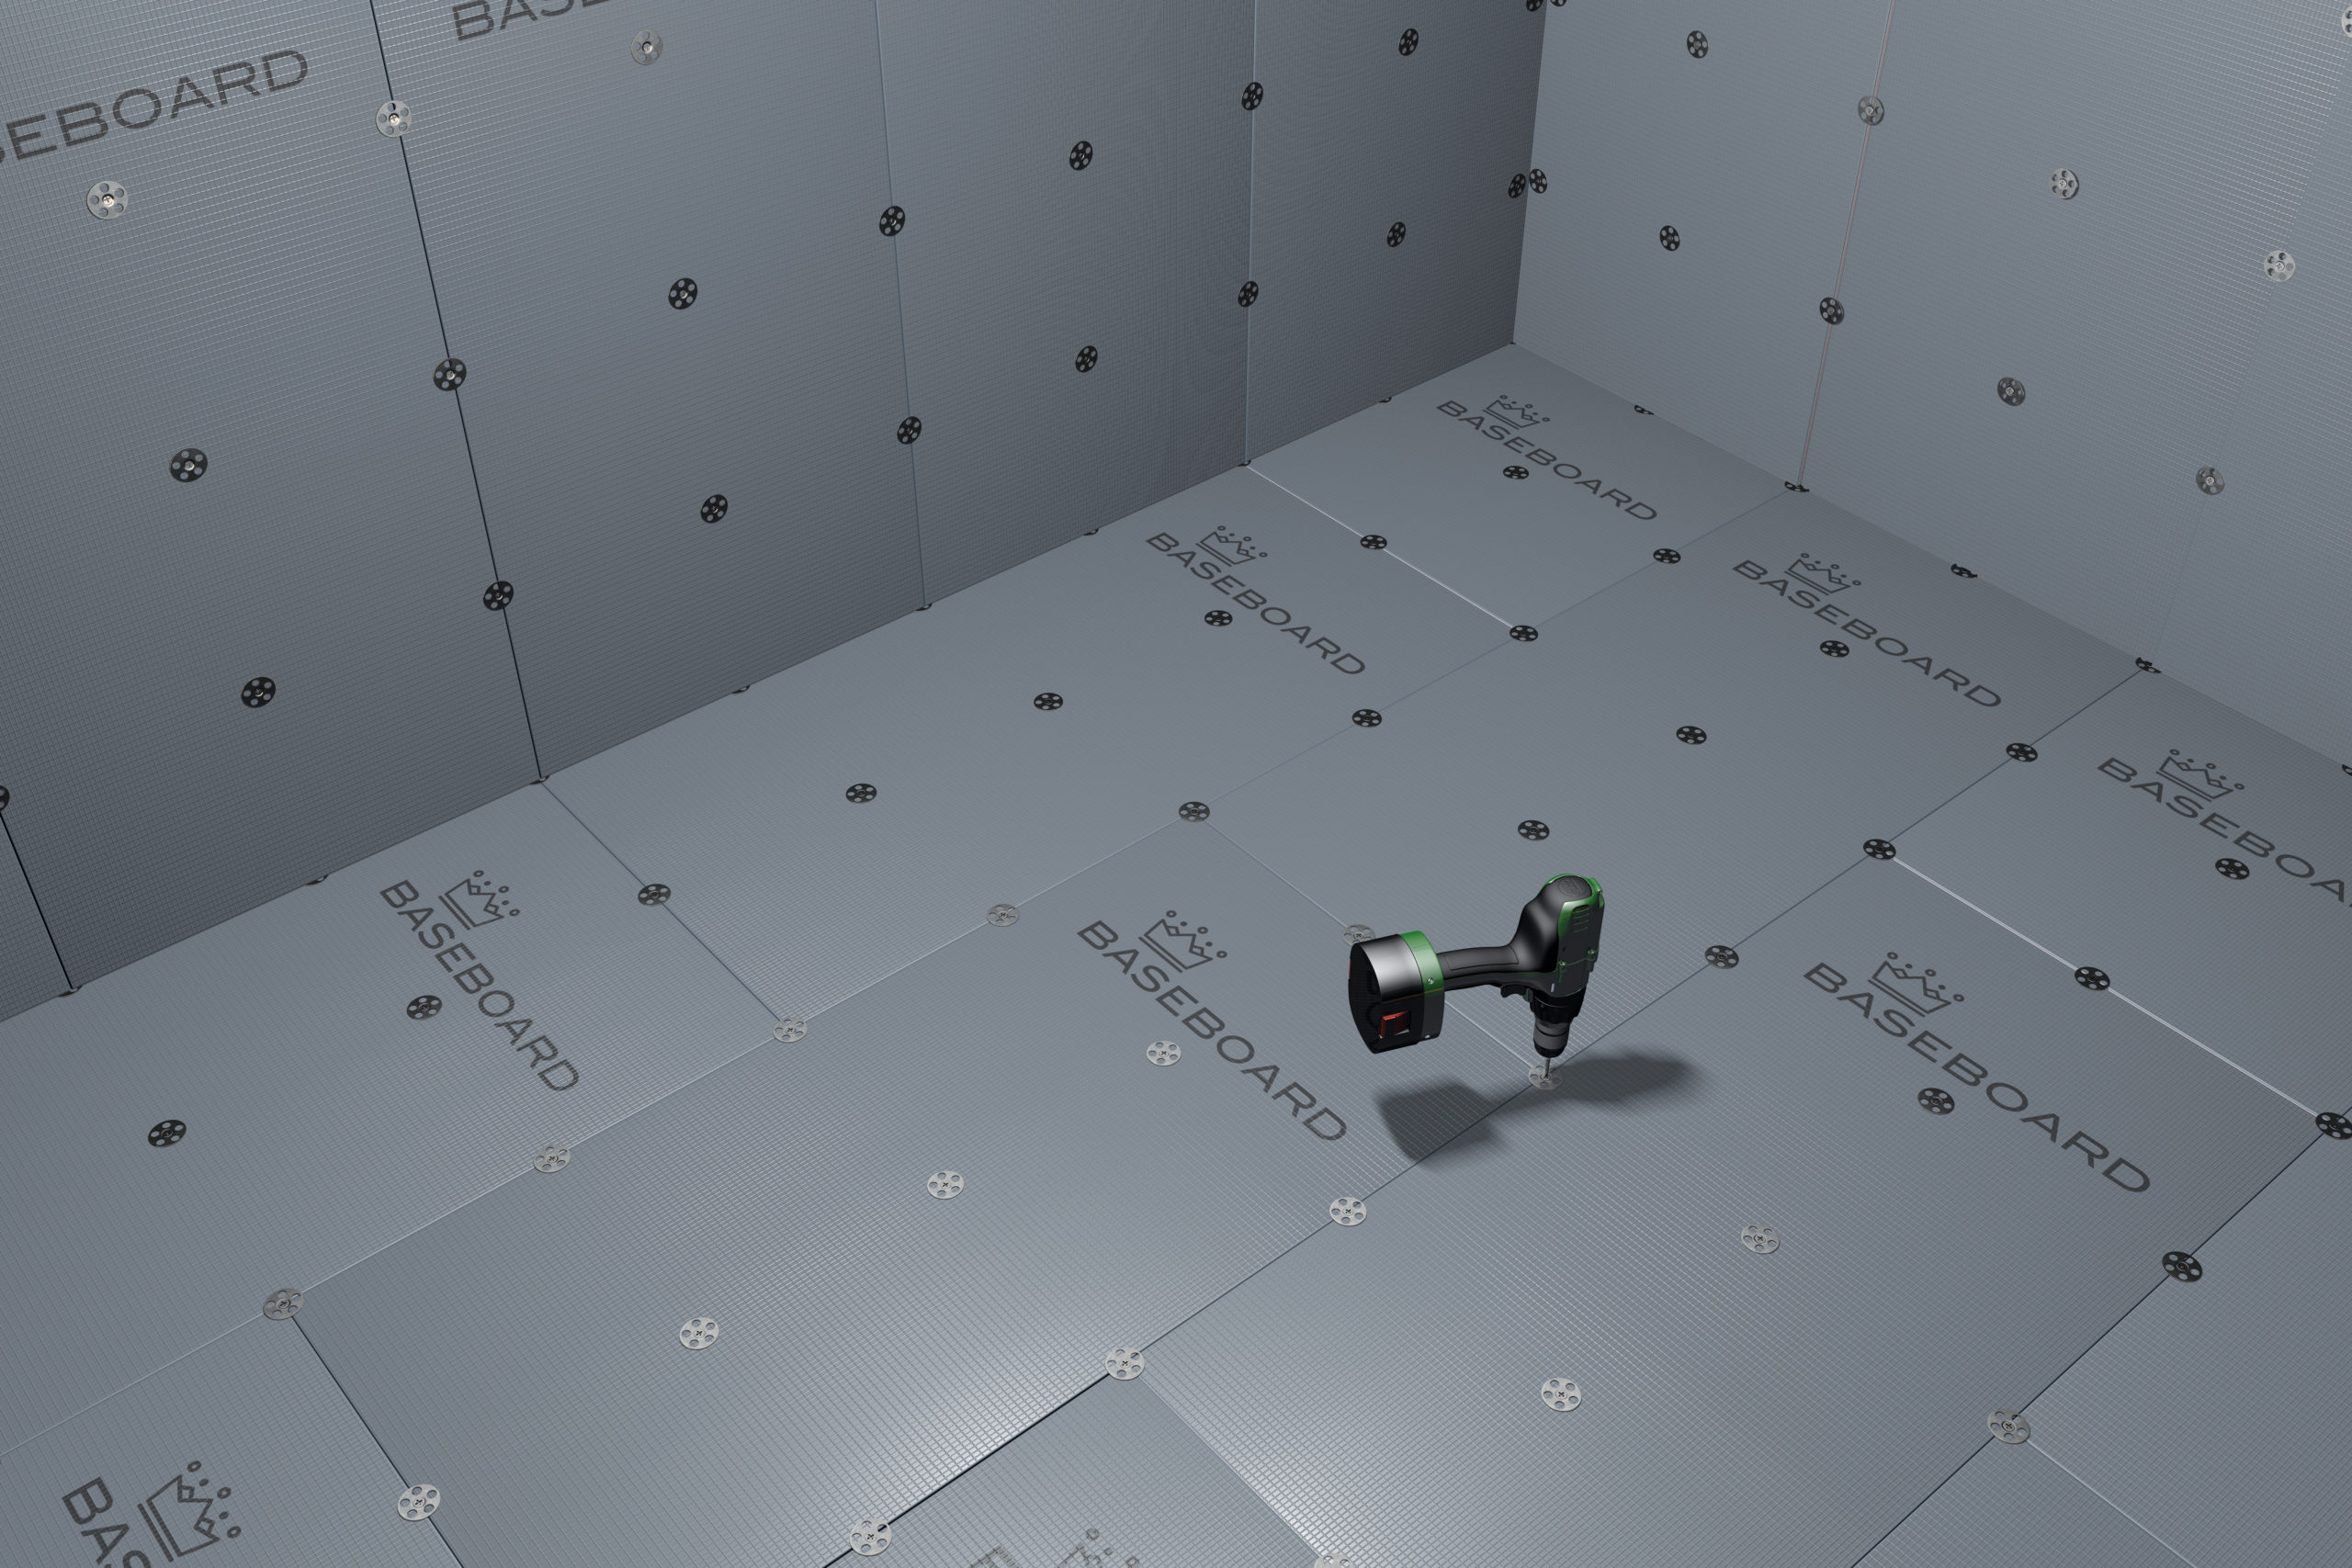
To avoid the use of plywood or chipboard, we recommend tile backer boards such as our Baseboard range which will create a smooth, stable and rigid surface for the tiles to be laid upon. These boards are available in a variety of thicknesses to avoid raising the level of the floor excessively, with the added benefits of being waterproof, insulating, lightweight and suitable for use with underfloor heating.
The backer boards should be measured and cut to size to ensure the entire area is covered, with the boards laid from a corner gradually across the room. Adhesive can be used on the back of the board to fix them in place, with the edges lined up to ensure there are no gaps. The boards can then be screwed firmly into place in all corners, with screws also used in a grid style pattern across each board.
Further information can be found on our Baseboard Installation Video
Step 3: Prime the surface
Once installed, the tile backer boards are ready to use and tile adhesive can be used directly on the boards. However, if you are using the boards in a wet area such as a wetroom or shower, a waterproof tanking kit such as our AquaTank kits will provide total water resistance. Simply, apply the primer and once dry, tape all joints and corners. Then, apply the neo-flex membrane across the area. We have a detailed video available to view here.
Step 4: Lay the tiles
Once you have measured the area and planned your tile layout you will need to prepare the tile adhesive, and we always recommend using a flexible tile adhesive when tiling over floorboards. This should be applied in 1 metre square intervals over the tile backer board using a notched trowel.
The tiles can be gently pressed into the adhesive, with a levelling kit such as our LevTec range used to create even grout lines and a level surface. Once the adhesive is set and the tiles are laid, you can apply grout to seal the area using a grout float.
Quantum Group NI – Wholesale suppliers to tiles and tiling equipment
We hope this guide has helped to answer your questions about tiling onto wooden floorboards, and if you are planning on tackling a project, we offer a variety of tiles and the tools and equipment needed. Whether you are a shop interested in stocking our range, or a tiler searching for your nearest supplier of the Quantum range, please contact our team and we will be more than happy to help.

