

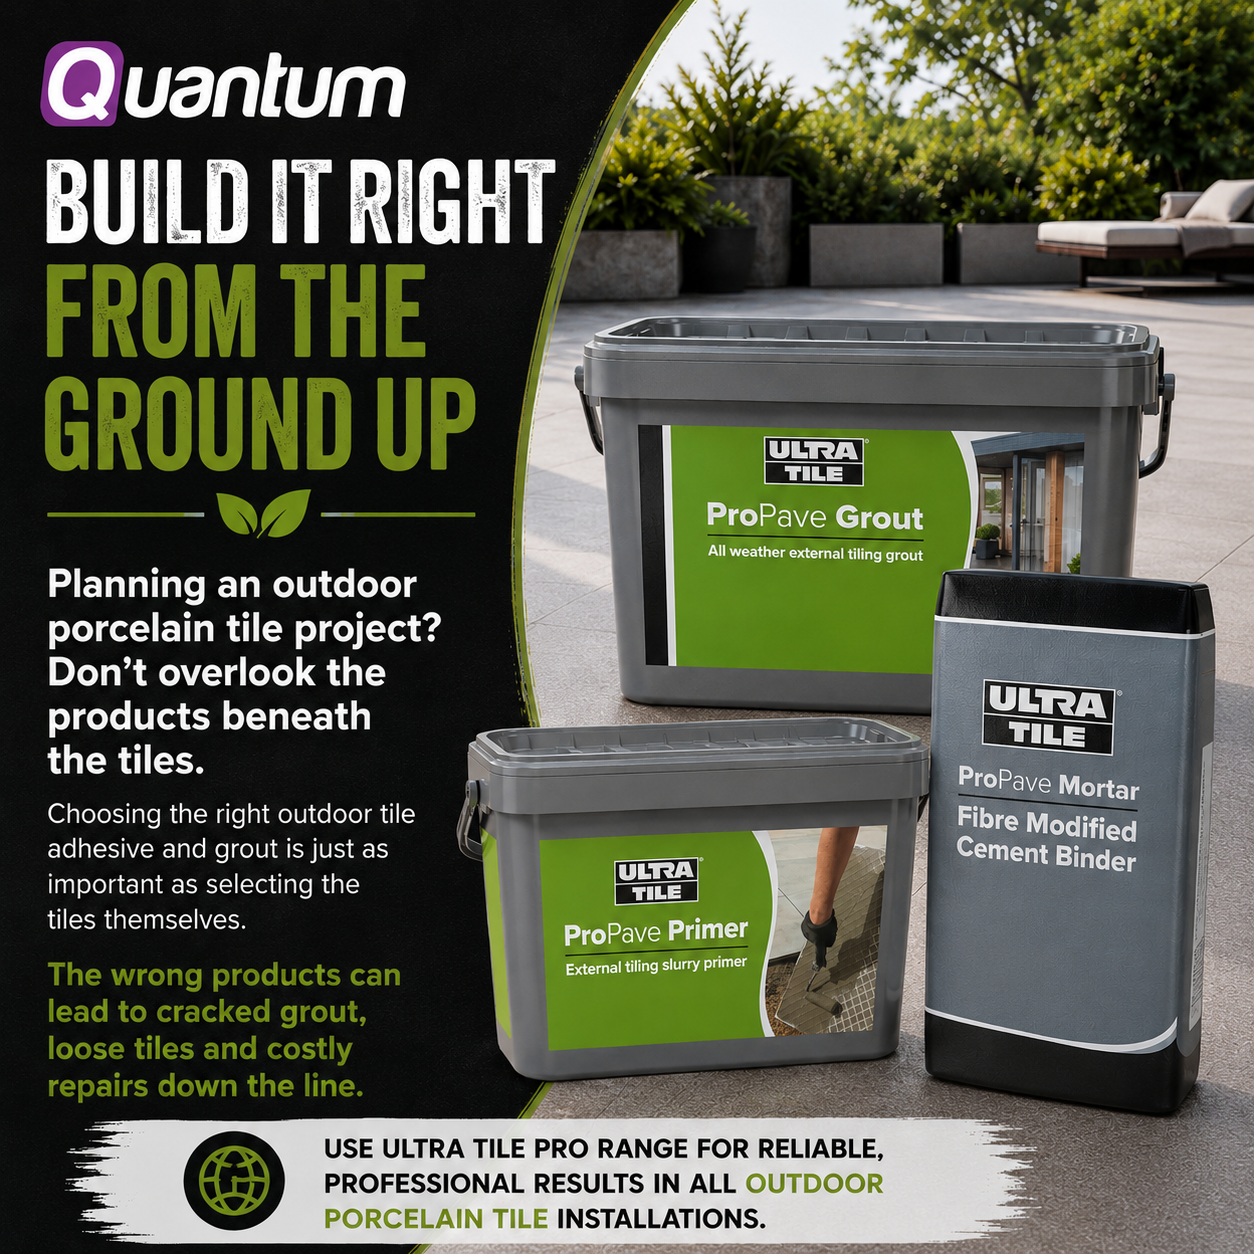
Installing outdoor tiles requires more than simply choosing a tile that looks suitable for a patio, path or terrace. The adhesive, grout, substrate and installation method must all be capable of coping with rain, frost, temperature changes and regular foot traffic.
Using an unsuitable glue for outdoor tiles can lead to loose tiles, cracked grout, water penetration and, eventually, complete installation failure. Outdoor tiling products therefore need to offer stronger adhesion, greater flexibility and better weather resistance than many products intended solely for indoor use.
In this guide, we explain how to choose the right outdoor tile adhesive and grout, including what to use with porcelain paving, how to prepare an exterior surface and the mistakes that could shorten the life of your tiled area.
Can ordinary tile adhesive be used outdoors?
Not every tile adhesive is suitable for external installations.
An adhesive used outdoors must be specifically approved by its manufacturer for exterior use. It also needs to be compatible with:
- The type and size of tile
- The installation surface
- The expected weather conditions
- The level of movement within the substrate
- The chosen installation method
Outdoor surfaces are exposed to considerably more stress than most indoor floors. They heat up in direct sunlight, cool rapidly overnight, become saturated during heavy rainfall and may be exposed to freezing temperatures during winter. These conditions cause tiles and substrates to expand and contract, with rigid or unsuitable adhesives often not capable of accommodating this movement, increasing the risk of debonding or cracking. For this reason, an exterior tile adhesive that is flexible and cement-based will be designed to maintain a strong bond in changing environmental conditions.
What is the best tile adhesive for outdoor use?
When people ask, “What is the best tile adhesive for outdoor use?”, there is no single product suitable for every project.
The best choice depends on the tile, substrate and installation conditions. However, most exterior porcelain installations require a high-performance, polymer-modified cementitious adhesive that:
- Is approved for external use
- Is suitable for porcelain tiles
- Provides an appropriate level of flexibility
- Is resistant to water and frost once cured
- Supports the tile size and weight
- Allows a solid-bed installation
- Is suitable for the intended substrate
A flexible adhesive classified as C2 S1 is commonly specified for external porcelain tiling. For installations exposed to greater movement, demanding conditions or very large tiles, an S2 highly deformable adhesive may be recommended. Always check the current product technical data sheet before installation, as product suitability can vary according to the substrate, tile format, location and environmental conditions.
What do tile adhesive classifications mean?
Adhesive classifications can help installers identify the performance of a product.
Under the relevant European classification system:
- C identifies a cementitious adhesive.
- C1 is a standard cementitious adhesive.
- C2 is an improved cementitious adhesive with enhanced bond strength.
- S1 indicates a deformable or flexible adhesive.
- S2 indicates a highly deformable adhesive.
- F may indicate fast setting.
- T may indicate reduced slip.
- E may indicate an extended open time.
For many outdoor applications, installers look for a C2 S1 exterior tile adhesive, although the correct specification must always be based on the complete installation. The adhesive classification alone does not confirm that it is suitable for every exterior project. The manufacturer’s instructions must also state that the product can be used outside and with the relevant tile and substrate.
Choosing an outdoor porcelain tile adhesive
Porcelain is one of the most popular materials for patios, paths and outdoor entertaining areas. It is strong, durable and has very low water absorption, making it well suited to exterior use when the tile itself has the appropriate technical characteristics. However, that low absorbency also means porcelain requires an adhesive with excellent bond strength.
A suitable outdoor porcelain tile adhesive should be:
- Polymer modified
- Cement based
- Approved for exterior use
- Suitable for low-porosity porcelain
- Flexible enough to accommodate movement
- Applied using a solid-bed method
Ready-mixed wall tile adhesives are not appropriate for external porcelain paving, as they may not provide the required strength, weather resistance or curing characteristics. For outdoor porcelain floor tiles, use a product specifically described as suitable for porcelain floor installations in exterior environments. Search terms such as outdoor porcelain tiles adhesive and exterior porcelain tile adhesive are often used interchangeably. In both cases, the important point is to verify that the product is approved for the tile, substrate and location rather than relying only on the name printed on the bag.
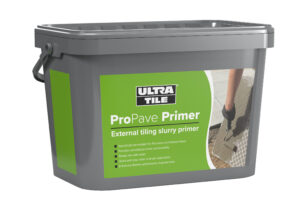

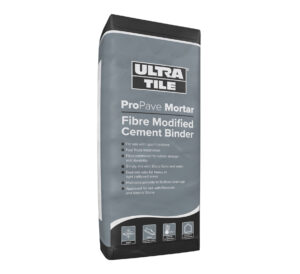 ProPave Mortar
 Should outdoor porcelain tiles be laid on adhesive or mortar?
Outdoor porcelain tiles can be installed using different methods, but the system must be designed specifically for external paving.
Possible methods include:
- Fixing tiles to a prepared concrete or screed substrate with tile adhesive
- Installing porcelain paving using an approved external paving system
- Using a suitable mortar bed together with a bonding slurry or primer
- Installing tiles onto proprietary pedestals where the tile is approved for that system
Traditional sand-and-cement methods used for natural stone should not automatically be applied to porcelain without the correct bonding treatment. Porcelain is dense and non-porous, so it may not bond reliably to an ordinary mortar bed unless an approved porcelain paving primer or slurry is applied.
Always follow the instructions for the complete system rather than combining unrelated products from different installation methods.
Preparing the substrate for outdoor tiles
Even the best adhesive will not compensate for a weak, unstable or poorly prepared base. Before applying an outdoor adhesive tile product, the surface should be:
- Structurally sound
- Stable and suitably cured
- Clean and free from contamination
- Flat enough for the selected tile
- Capable of supporting the expected load
- Designed with adequate falls for drainage
- Free from standing water
- Compatible with the adhesive system
Remove dust, laitance, moss, algae, grease, paint, curing compounds and loose material before tiling. Existing cracks should be investigated rather than simply covered. If the substrate continues to move, that movement may transfer through the adhesive and into the tiled finish.
Do not use tile adhesive to correct major level differences
Tile adhesive should not be used as a substitute for correctly preparing or levelling the base.
Excessively thick or uneven adhesive beds may:
- Cure inconsistently
- Shrink
- Create weak areas
- Reduce coverage beneath the tile
- Make it harder to achieve the correct falls
Use an appropriate exterior repair, screed or levelling product where necessary before tiling.
Why drainage and falls are essential
Outdoor tiled surfaces should be constructed so that water runs away from buildings and does not remain trapped beneath or on top of the tiles.
A suitable fall is normally formed within the substrate rather than created by adjusting the adhesive thickness beneath individual tiles.
Poor drainage can result in:
- Standing water
- Staining
- Slippery surfaces
- Water entering joints
- Frost-related damage
- Efflorescence
- Saturation of the bedding layer
The exact fall required depends on the project, surface finish and drainage design. The completed surface should direct water safely towards an appropriate drainage point.
Should you prime an exterior surface before tiling?
Priming requirements depend on the substrate and adhesive. Some porous surfaces may need priming to control suction and prevent the substrate drawing water too quickly from the adhesive. Other surfaces may require a specialist bonding primer. However, not every surface should be primed in the same way. Using the wrong primer, or applying it incorrectly, may reduce rather than improve adhesion.
Check the adhesive and primer technical data sheets to confirm:
- Whether priming is required
- Which primer should be used
- The correct dilution
- Application method
- Drying time
- Substrate compatibility
How should adhesive be applied beneath outdoor tiles?
Outdoor tiles should normally be installed with full or near-full adhesive contact beneath the tile. Voids beneath exterior tiles can collect water. If that water freezes, the resulting expansion can place stress on the tile, adhesive and substrate. Insufficient coverage can also create unsupported areas that are more vulnerable to cracking under load.
Use the solid-bed method
For many exterior installations, the adhesive should be combed onto the prepared substrate using a suitable notched trowel. The back of the tile may also need to be coated with a thin layer of adhesive. This is commonly known as back-buttering. The tile is then bedded into the adhesive while it remains open and workable, using a slight sliding motion to collapse the adhesive ribs. Periodically lift a tile during installation to check that the required coverage is being achieved. Simply placing blobs or dots of adhesive beneath an outdoor tile is not an acceptable alternative to a solid bed.
Why dot-and-dab fixing should be avoided outdoors
Dot-and-dab fixing leaves significant cavities behind the tile.
This may cause:
- Reduced bond strength
- Water collecting beneath the tiles
- Hollow spots
- Cracking under concentrated loads
- Frost damage
- Uneven curing
- Visible staining around adhesive patches
Outdoor porcelain paving should be adequately supported across the back of each tile.
Choosing the correct trowel
The correct notched trowel depends on:
- Tile dimensions
- Tile profile
- Substrate flatness
- Adhesive type
- Required bed depth
Large-format outdoor tiles generally need a larger notch than small wall tiles. However, a larger trowel is not a substitute for a flat, properly prepared substrate. The installer should select a trowel that achieves the adhesive coverage and finished bed depth specified by the adhesive manufacturer.
What grout should be used for outdoor tiles?
A suitable outdoor tile grout must be approved for exterior use and capable of coping with moisture, weather exposure and temperature changes.
For many tiled patios and terraces, a flexible, polymer-modified cementitious grout is used. The product must be compatible with:
- The tile material
- The joint width
- The installation location
- Expected traffic
- Weather exposure
- The adhesive and substrate system
Is outdoor tile grout waterproof?
This is one of the most important points to understand. Many cement-based grouts are water resistant, but they should not automatically be treated as completely waterproof. Water may still pass through or around a grout joint over time. The installation must therefore be designed so that it does not rely on grout alone to prevent water damage.
A durable exterior tiling system depends on:
- Correct substrate preparation
- Appropriate drainage falls
- Full adhesive coverage
- Properly formed movement joints
- Suitable perimeter detailing
- Exterior-rated grout
- Correct curing
Grout fills the joints between tiles, but it does not replace waterproofing, drainage or movement accommodation.
What joint width should be used outdoors?
Outdoor porcelain tiles should not normally be installed with no joint between them. Even rectified porcelain tiles require a suitable joint. Installing tiles too tightly can prevent the finish from accommodating small dimensional differences and environmental movement. Many external paving installations use wider joints than minimalist indoor floors. Follow the tile and grout manufacturers’ recommendations rather than choosing a joint based solely on appearance.
The appropriate grout joint depends on:
- Tile dimensions
- Manufacturing tolerances
- Edge type
- Tile variation
- Installation area
- Manufacturer recommendations
- Expected thermal movement
Do outdoor tiles need movement joints?
Yes. Movement joints are a vital part of an outdoor tile installation. Exterior surfaces experience expansion and contraction because of changes in temperature, moisture and sunlight. Without correctly positioned movement joints, stress may build up within the tiled finish.
This can cause:
- Cracked grout
- Cracked tiles
- Debonding
- Tenting or lifting
- Failure around edges and thresholds
Movement joints may be required:
- Around the perimeter
- Where the tiled surface meets walls or fixed structures
- Over existing structural or movement joints
- At changes in substrate or construction
- Across larger tiled areas
- At changes in direction
- Around columns, drains and other penetrations
Structural and movement joints should not simply be filled with ordinary grout. The location, spacing and design of movement joints should follow the relevant installation standards and project specification.
Can grout be used in movement joints?
No. Ordinary grout becomes rigid after curing and is not intended to accommodate significant movement. Movement joints should be filled or finished using an appropriate flexible joint system, such as:
- Exterior-rated sealant
- Preformed movement-joint profile
- Other specified movement-joint product
The sealant must be compatible with the tile, joint dimensions and outdoor conditions.
When can outdoor tiles be grouted?
Do not grout until the adhesive has cured sufficiently.
The waiting period depends on:
- Adhesive type
- Bed thickness
- Temperature
- Humidity
- Tile size
- Tile porosity
- Substrate
- Weather
Cold or damp conditions can significantly extend curing times.
Grouting too early may trap moisture, disturb the tiles or affect the final colour and performance of the grout.
Follow the adhesive manufacturer’s instructions rather than relying on a standard waiting period.
Weather conditions for installing outdoor tiles
Exterior tiling should not be carried out in unsuitable weather.
Avoid installing tiles or grout:
- During rain
- On frozen surfaces
- When frost is forecast before curing
- In excessively low temperatures
- In intense direct sunlight
- During extreme heat
- In strong drying winds
- On waterlogged substrates
Direct sunlight and high temperatures can cause adhesive to skin over or dry too quickly. Cold temperatures slow curing and may expose uncured products to frost damage. Protect the installation from rain, frost and rapid drying for the period stated by the product manufacturer.
How to choose an adhesive colour
Tile adhesive is commonly available in grey and white. Grey adhesive is suitable for many standard porcelain tiles. White adhesive may be preferred for:
- Light-coloured tiles
- Pale natural stone
- Translucent materials
- Tiles that may be vulnerable to visible staining
For outdoor porcelain paving, the tile manufacturer may specify the adhesive or bedding colour. Always check before installation, especially when working with pale tiles or natural materials.
Rapid-setting or standard-setting adhesive?
Both rapid-setting and standard-setting adhesives can be used in appropriate external applications.
Rapid-setting adhesive
Rapid-setting products can be useful when:
- The area must return to service quickly
- Weather windows are limited
- Grouting needs to begin sooner
- Temperatures are suitable for faster work
However, they provide less working time and may be less forgiving for inexperienced installers.
Standard-setting adhesive
Standard-setting products generally provide more time for:
- Positioning large tiles
- Adjusting levels
- Checking lines
- Achieving coverage
- Completing more detailed layouts
The setting speed does not determine whether an adhesive is suitable outdoors. The product still needs the appropriate exterior, tile and substrate approvals.
Common outdoor adhesive and grout mistakes
1. Using an indoor-ready-mixed adhesive
Many ready-mixed products are designed for internal wall tiles and are unsuitable for outdoor porcelain floors.
2. Leaving voids beneath the tiles
Poor coverage creates weak areas where water can collect.
3. Tiling over an unstable substrate
Loose, cracked or contaminated surfaces can cause even a high-quality adhesive to fail.
4. Ignoring drainage
A level tiled area without suitable falls can retain water and increase the risk of staining and frost damage.
5. Grouting movement joints
Rigid grout should not replace a correctly designed flexible movement joint.
6. Installing in rain or frost
Adhesive and grout need suitable conditions to cure correctly.
7. Adding too much water
Excess water can weaken adhesive and grout, alter grout colour and increase shrinkage.
8. Allowing adhesive to skin over
Tiles must be placed while the adhesive remains within its open time.
9. Walking on tiles too soon
Premature traffic may disturb the bond before the adhesive has developed sufficient strength.
10. Mixing products without checking compatibility
A collection of individually suitable products does not automatically create a compatible system.
Step-by-step overview of fixing outdoor porcelain floor tiles
The exact process depends on the chosen system, but a typical adhesive installation involves the following stages.
Step 1: Assess the area
Check the substrate, drainage, height, thresholds and finished floor level.
Step 2: Plan the layout
Dry-plan the tiles to avoid narrow cuts and identify the position of joints, drains and edges.
Step 3: Prepare the substrate
Clean the surface, complete repairs and form the necessary drainage falls.
Step 4: Prime where required
Use only the primer specified for the substrate and adhesive.
Step 5: Mix the adhesive
Follow the stated water ratio and use a clean bucket and mixing paddle.
Step 6: Apply the adhesive
Spread only as much as can be tiled within the product’s open time.
Step 7: Back-butter where required
Apply a contact layer to the back of the porcelain tile to support full coverage.
Step 8: Bed the tile
Press the tile firmly into position and collapse the adhesive ribs.
Step 9: Check coverage and falls
Lift occasional tiles and verify that the installation remains correctly aligned and drained.
Step 10: Leave the adhesive to cure
Protect the surface and avoid premature traffic.
Step 11: Apply exterior grout
Mix and apply the grout according to the technical data sheet.
Step 12: Finish movement joints
Use the specified flexible movement-joint product rather than ordinary grout.
Frequently asked questions
Can I use normal tile adhesive for outdoor tiles?
Only when the manufacturer specifically confirms that the adhesive is suitable for external use, the chosen tile and the intended substrate. An indoor-only product should not be used outside.
What is the best glue for outdoor tiles?
A high-performance, polymer-modified cementitious adhesive approved for exterior use is generally the appropriate type. For porcelain, look for explicit porcelain compatibility and suitable flexibility.
Is flexible tile adhesive suitable outdoors?
Some flexible adhesives are suitable for outdoor use, but flexibility alone is not enough. The technical data sheet must confirm external suitability.
Can I use outdoor tile adhesive on concrete?
Yes, provided the concrete is sound, sufficiently cured, clean, correctly prepared and compatible with the adhesive. Movement, moisture, laitance and curing compounds must be considered.
What adhesive should I use for 20mm porcelain paving?
Use a system approved for thick exterior porcelain paving. This may be an exterior tile adhesive over a suitable base or a paving mortar system used with a porcelain bonding primer. Follow the tile and installation-system manufacturer’s guidance.
Do outdoor porcelain tiles need to be back-buttered?
Back-buttering is commonly required or strongly recommended to help achieve the necessary adhesive contact beneath dense, large-format porcelain tiles.
Can I lay outdoor tiles directly onto soil?
No. Outdoor tiles need an appropriate supporting base or approved pedestal system. Soil alone does not provide the stable, load-bearing surface required for bonded tiles.
Can I lay porcelain paving on sand and cement?
Only as part of a correctly specified system. Porcelain generally requires an approved bonding slurry or primer when installed onto a mortar bed.
Does outdoor tile grout need sealing?
This depends on the grout. Some cementitious grouts may benefit from a suitable sealer, while others may not require one. Sealing does not correct poor drainage, cracked joints or an incorrectly constructed base.
Can outdoor tiles be laid without grout?
Bonded porcelain tiles should normally have suitable joints. Butt-jointing leaves little room for tolerances or movement and may cause edge damage or installation failure.
How long does exterior tile adhesive take to dry?
The curing time varies by product and conditions. Cold, damp weather and large porcelain tiles may slow curing. Check the technical data sheet before grouting or allowing traffic.
Choosing the right outdoor tile adhesive and grout system
A successful outdoor tiling project depends on much more than the tile itself. The right outdoor tile adhesive and grout must work together with a stable substrate, adequate drainage, full adhesive coverage and correctly designed movement joints. For outdoor porcelain, choose an approved exterior porcelain tile adhesive with the required bond strength and flexibility. Complete the installation using an exterior-rated flexible grout that suits the selected joint width and exposure conditions.
Quantum Group stocks a wide selection of UltraTile adhesives, grouts, primers and preparation products for professional tiling projects throughout the UK and Ireland. Because every exterior installation is different, always check the current UltraTile technical data sheets and seek project-specific technical guidance where required before selecting a product. If you would like more information on any of these products, please contact our team today.