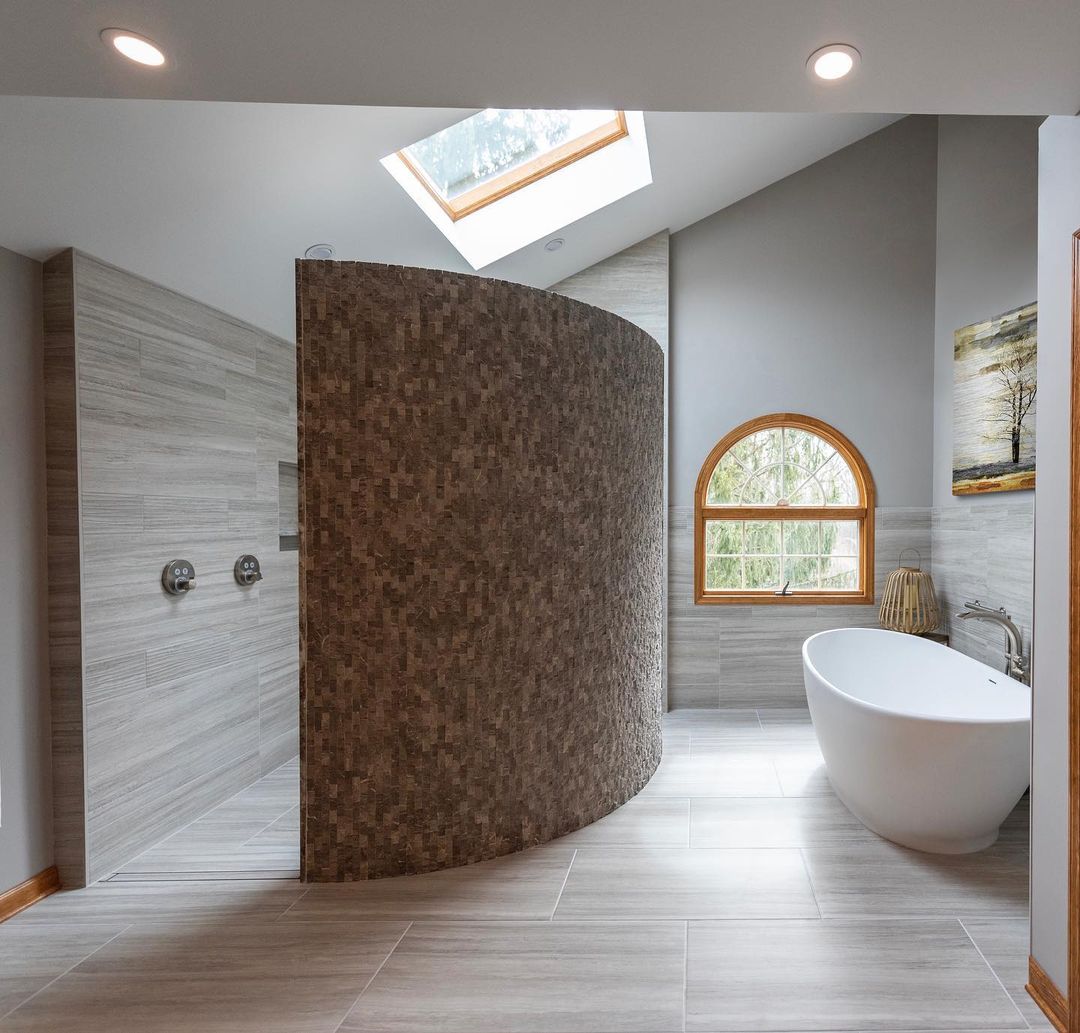
Tiling a curved wall is a challenge that demands both skill and innovation. In this case study, we explore the intricacies of tiling a gracefully curved wall, a task that may seem formidable but is a common hurdle faced by many professional tilers. Join us as we unravel the techniques and tools employed to achieve a flawless tile installation, showcasing the mastery of this unique challenge.
Challenge: Tiling a Curved Wall Tiling a curved wall introduces a formidable challenge due to the complexity of the surface. The curvature requires a meticulous approach to ensure a seamless and visually pleasing tile installation. This challenge, though daunting, is one that professional tilers often encounter in various projects.
Unveiling Techniques and Tools
Flexible Adhesive Choices: Choosing the right adhesive is critical when tackling a curved wall. Professional tilers opt for flexible adhesives specifically designed to accommodate the curvature of the surface. These adhesives possess a unique elasticity that allows tiles to adhere securely while adjusting seamlessly to the unique shape of the wall.
Practical How To:
- Surface Assessment: Begin by thoroughly assessing the curvature and characteristics of the wall. Understand the degree of the curve and any variations in the surface.
- Adhesive Selection: Choose a high-quality, flexible adhesive explicitly formulated for curved surfaces. Ensure the adhesive provides the necessary flexibility and bonding strength for the tiles.
- Application Technique: Apply the adhesive with a notched trowel, ensuring even coverage. The flexibility of the adhesive is crucial in accommodating the curve, allowing tiles to adhere uniformly.
Precision Cutting: Achieving a flawless result on a curved wall hinges on precision cutting of tiles. Professional tilers employ advanced cutting techniques to ensure tiles fit seamlessly along the curved surface, maintaining visual integrity.
Practical How To:
- Measurements: Take precise measurements of the curved sections, considering both the length and width of the tiles required. This step is crucial for achieving a tailored fit.
- Marking the Tiles: Use a pencil or marker to mark the cutting lines on the tiles based on the measurements. Take into account any specific angles or curves present in the wall.
- Cutting Techniques: Utilise advanced cutting tools such as wet saws or angle grinders equipped with diamond blades. Execute the cuts with care, following the marked lines to ensure accuracy.
- Dry Fitting: Before applying adhesive, conduct a dry fit to ensure the cut tiles align seamlessly along the curved wall. Make any necessary adjustments to guarantee a perfect fit.
Professional tilers, faced with the challenge of tiling a curved wall, demonstrate their expertise through the meticulous selection of flexible adhesives and the mastery of precision cutting techniques. This combination results in a flawless tile installation that not only meets the challenge head-on but also enhances the aesthetic appeal of the curved space. Stay tuned for more case studies and expert insights from Quantum Group NI and visit our website to see a range of high-quality tools and accessories which can help you tackle any tiling challenge with ease.