Unlike conventional central heating systems which cause the warm air to rise, underfloor heating is designed to provide evenly distributed heat throughout a room. Once installed, underfloor requires very little maintenance and rooms benefit from reductions in drafts and airborne allergens.
If underfloor heating sounds like the ideal option for your renovation project, it is likely you are wondering how it is installed. To help you get started, this useful guide will take you through the steps to accurately measure up for underfloor heating.
Floor size, temperature and heating options
The size of the room will have a direct impact on the heat output, with larger floor areas requiring a higher heat output. It is important to bear in mind that for underfloor heating to act as a primary heat source, it will need to cover at least 80-90% of the total floor area. If the area of a room which can be heated covers less than 80% of the total floor space due to obstacles, the system is unlikely to provide enough heat, unless the home is well insulated.
The maximum power of an underfloor heating system is usually measured in Watts per square metre, with figures normally specified between 65 and 85W/m². To guarantee the required heating output most homes will require a heating system which provides between 150-200W/m² once installed.
How to calculate underfloor heating requirements
1) The first step is to measure the total floor area, which is the length multiplied by the width of the room in m². For example, 2.5 x 2m = a total floor area of 5m².
2) Then you need to calculate various areas in the room which will not be heated. For example, in a bathroom you need to calculate the total floor areas for the toilet, bath, sink and shower.
3) Once calculated, add these non-heated areas together to find the total of all non-heated areas in the room.
4) Subtract the total of the non-heated areas from the total area of the room. For example, the total non-heated area could be 1.2m², which would provide a total heated area of 3.8m².
5) To ensure that you do not over order, reduce this figure by 10%. For example, 3.8m² reduced by 10% equals 3.42m².
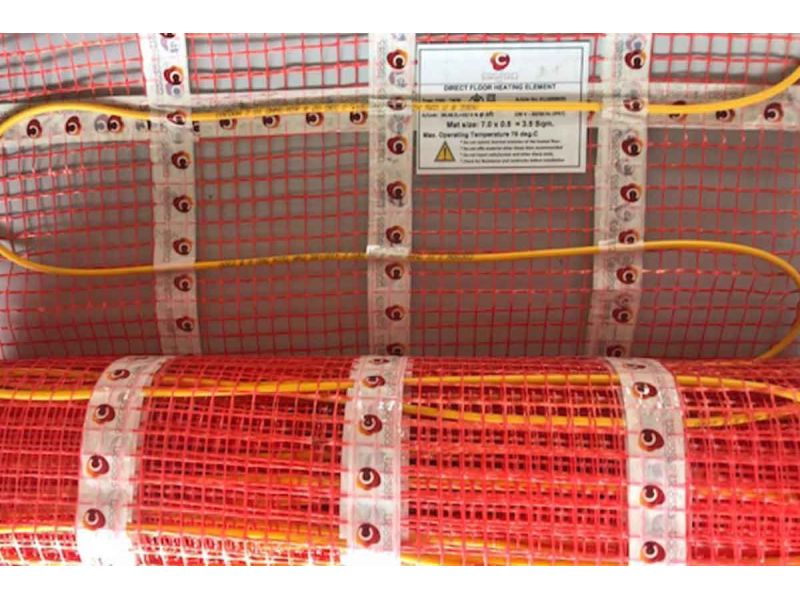
6) Finally, reduce this figure down to the nearest available heating mat size. In this example, the closest heating mat size is likely to be 3m².
If a room has multiple obstacles, many installers will prefer to use loose underfloor heating cables. This will take more time; however, it will make it easier to navigate obstacles in the room. Each cable kit is designed to cover a range of floor areas as the heating output can be managed by adjusting the spacing between cables. For example, a cable spaced at 95mm instead of 75mm will provide a lower wattage but will cover a larger floor area.
The steps to calculate the exact cabling length are:
1) As described above, calculate the maximum heated area of the room.
2) Decide the wattage output for the room, the higher the wattage the quicker the floor will warm up. You will need to base your calculation on the manufacturers advertised figures, although in general spacing between cables will usually be 6, 6.5 or 7.5cm.
3) Calculate how many cables you need to cover the floor area; these can then be connected to a thermostat via a junction box.
Whichever system you decide to install, it is worth bearing in mind that any cables which are too long due to calculation errors cannot be cut. It is always better to use a slightly smaller heating mats and cables, as any cuts to cables to make them fit will stop your heating from working.
Here at Quantum we stock a variety of wholesale underfloor heating products, including electric underfloor heating mats, thermostats, heating cables and heating sensor probes. To find your nearest stockist or to find out more about stocking these products, please contact our experienced sales team.