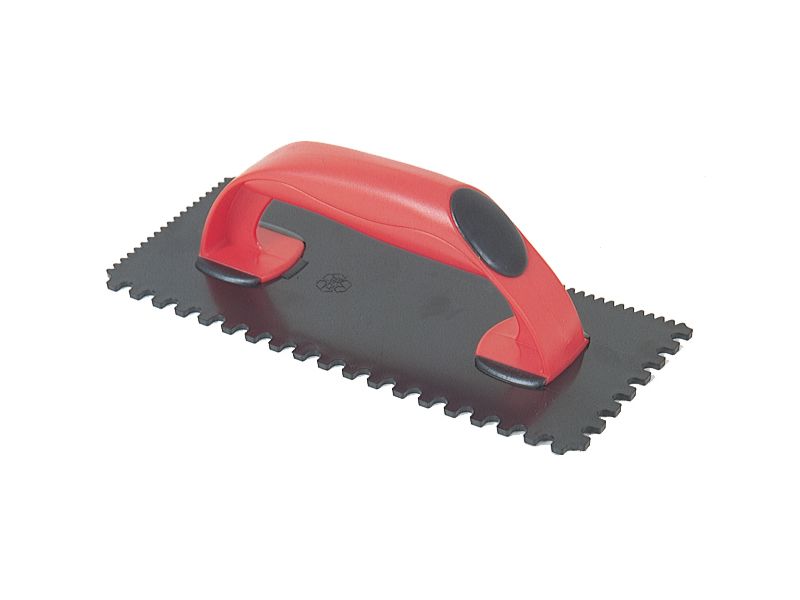
Before you start laying tiles, you will need to decide which tiling trowel size and notch shape to use. We often receive questions from the most experienced DIYers and tilers about which trowel to use, especially when you consider the variety of tile sizes available today.
In this blog we will cover the most common tiling trowel questions, so that you can make a well-informed choice in your next tiling project.
Why are trowel size and notch shape so important?
At the most basic level when you are laying tiles, you need to choose a trowel which will provide at least 85% total tile coverage for dry areas and at least 95% in wet areas such as showers and wetrooms.
What types of tiling trowels are available?
In general, the most popular notch shapes are ‘U’ and square notch options, although ‘V’ notches and slanted notches also exist. The difference in notch shapes will determine how easily the tile will be to fully embed into the adhesive substrate below, with square notches the hardest to embed.
A ‘U’ notch shape will encourage the adhesive to spread out evenly, so there is less changes of adhesive ridges collapsing and trapping air. If you are laying large-format tiles or natural stones to a floor area, a ‘U’ shaped trowel is advised to ensure you achieve the correct set.
If you are tiling a wall, ‘V’ notch trowels will provide a superior set, as they will leave slightly less adhesive than a square or ‘U’ shaped trowel. Applying too much adhesive to a wall tile can lead to smearing, which will make it difficult to clean and grout.
How are trowels measured?
The size and spacing of trowel notches form the basis of tiling trowel measurements, with gaps allowing you to judge how much adhesive will be left on the back of the tile. When you compare product information, you will notice that measurements are provided to help you judge this spacing. For example:
• A 12x12mm trowel with square notches will leave adhesive ridges measuring 12mm, with a 12mm gap between ridges.
• A 10x12mm square-notched trowel will leave ridges measuring 10x12mm, with a 10mm gap between ridges.
• A 6mm U-notched trowel will leave rounded ridges on the substrate measuring 6mm high at 6mm intervals.
How much adhesive do I need per tile?
The size of the trowel you use will determine how much adhesive you need on the substrate. For example, with square-notched trowels, the bed of adhesive on a flat surface should be 50% of the notch size, so a 12mm notch would require a 6mm bed of adhesive. When the tile is pressed into the adhesive the trowel lines are pressed into the gaps, which are the same size and will therefore halve the height of the ridges.
In comparison, a U-notched trowel will leave an adhesive bed which is just over 1/3 of the size of the trowel notch size. So, a 6mm U-notch trowel will leave an adhesive bed of 2mm below the tile.
How do I know if I am using the right trowel?
To check whether you are using the correct trowel, you should apply the adhesive, lay the tile and then lift the tile again to check whether the trowel lines have disappeared. If the trowel has provided the required coverage there will be no visible trowel lines.
If you have any additional questions relating to tiling trowels or any of our tiling tools, our experienced team are always available to assist. As wholesale suppliers of tiling tools and accessories, we have a variety of tiling trowels which are available throughout the UK and Ireland. To view the range, please click here.

