Sealant is used to create a tight seal in areas which are prone to water damage, such as kitchens and bathrooms. However, over time sealant can become damaged and discoloured, with cleaning unlikely to remove any stains or mould. If you need to remove and replace your sealant, we have created this useful step by step guide to achieving a professional finish.
What you will need to remove and replace silicone sealant
Before you dive straight into the task, you should gather up these items:
- Sealant smoother tool
- Knife
- Scraper
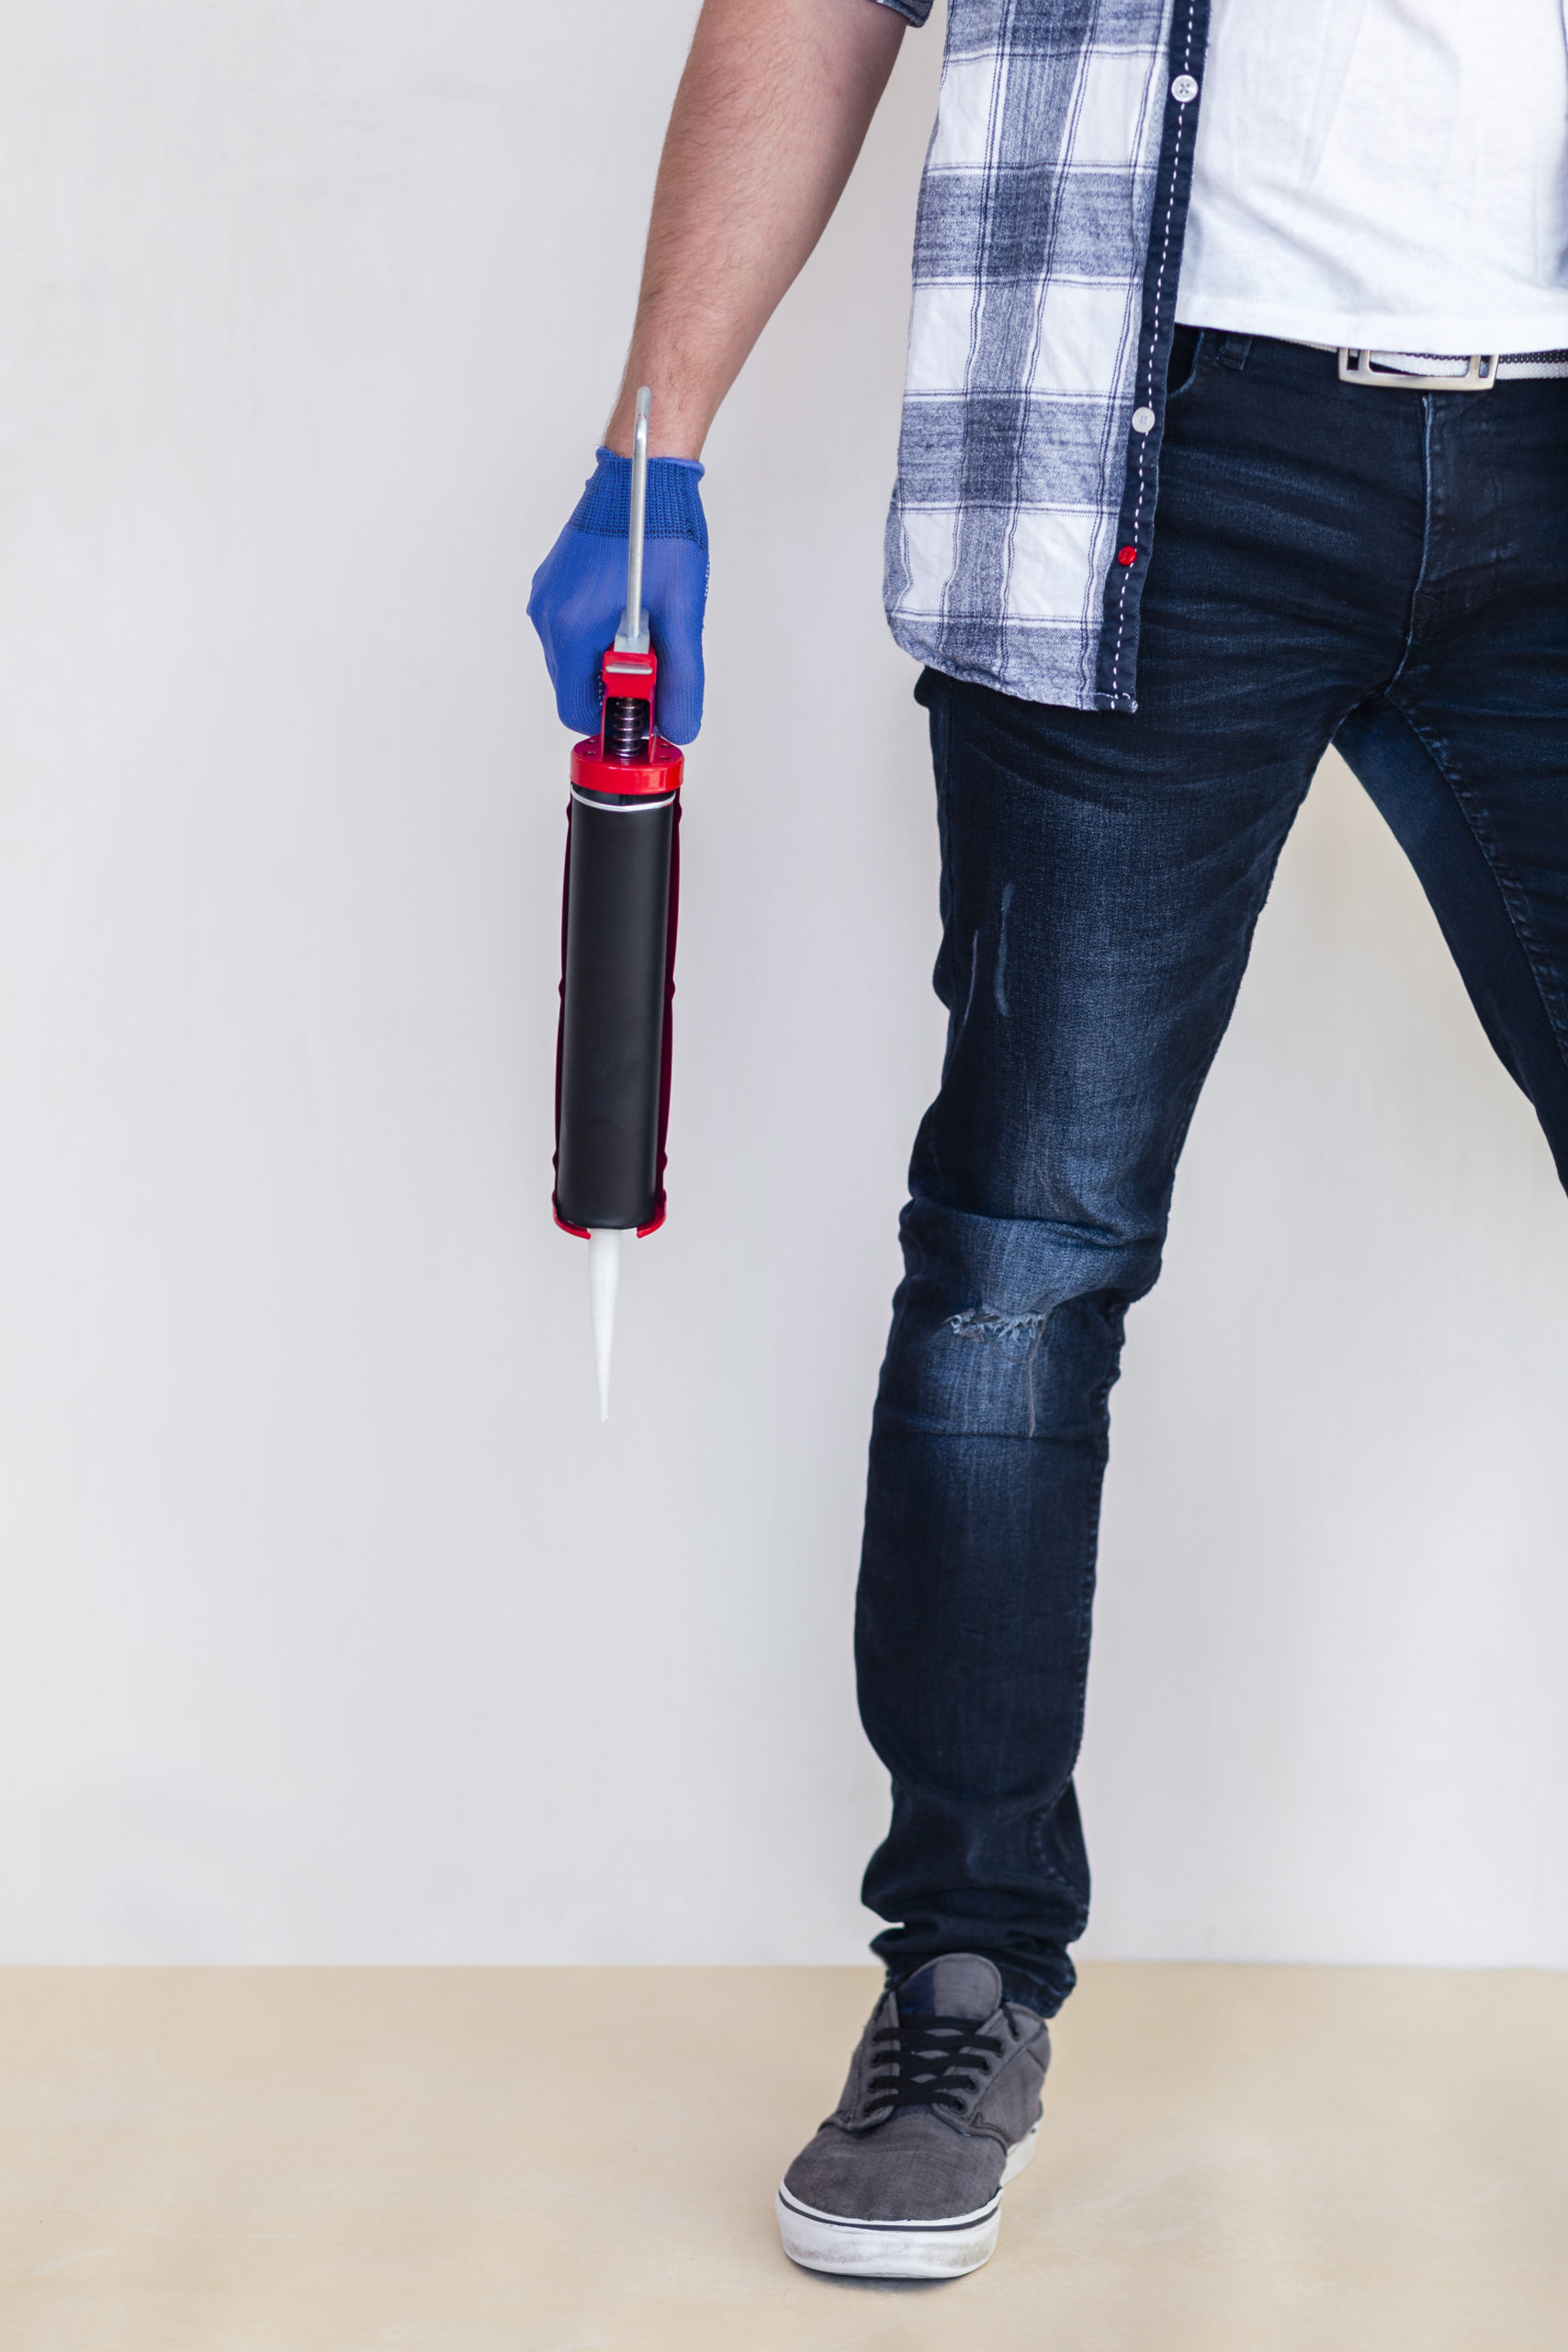
- Cartridge gun
- Mould remover
- Silicone remover
- Methylated Spirit
- Sealant
- Gloves
- Cloth
Step 1: Remove the old sealant
Firstly, you will need to follow the instructions on the silicone remover and apply it to the existing sealant. This usually requires up to 24 hours to work, as the chemical will need to break down the sealant ready for removal.
The old sealant can then be carefully removed with a knife and scraper, with the pointed tip used to pierce the existing sealant and cut into the top and bottom edge. Be careful not to press too hard, as this could damage the surface below, especially if you are working around softer areas such as an acrylic bath.
The scraper will push the bead of silicone away from the surface, with the bulk lifting away easily thanks to the silicone remover. The smaller strands can be removed individually using the scraper, although you can repeat the process with the silicone remover if you prefer.
Step 2: Clean the sealant
Whilst wearing gloves, use the mould remover to clean the area and remove any remaining sealant. Depending on the product, you may have to leave the remover on for a period of time before washing away. The area should be left to dry fully before you move on to the next step.
Step 3: Degrease the area
Once the tiled area is completely dry, it is time to degrease the area using methylated spirit. Apply using a cloth and ensure the area is completely clean and dry, this will ensure the new silicone is able to adhere well.
Step 4: Reapply sealant
There are several brands of silicone sealants available, including those which provide protection against mould. To release the silicone, you will need to cut the end off the nozzle. If you are looking to add a thick bead, cut the nozzle further up and for a thin bead, cut the nozzle close to the tip.
Insert the silicone tube into the cartridge gun and push gently on the handle, then work your way along the area with a steady pace and consistent pressure. The silicone can be tidied up later, however it is important not to leave any gaps. If you are sealing around a bath, it is advisable to fill it with water first so that it is properly weighted and not prone to cracking.
Step 5: Smooth the sealant
Using the smoother tool apply gentle pressure along the sealant to create a smooth and even finish. We recommend working in small sections, with the tool pulled along the bead and excess wiped away as you go. A great tip is to spray the area with a mixture of water and washing up liquid, as this will make it easier for the tool to glide along the surface.
Step 6: Allow to fully dry
Once smooth, leave to dry and ensure the area does not come into contact with water. Usually, it will take 24 hours to dry completely, although some sealants require 48 hours. This will give a professional finish, and the area will be well-protected and refreshed.
Contact the Quantum team for advice
As tiling experts, we are always on hand to help with queries relating to any of our products, and we hope that you now feel confident to remove and replace silicone sealant.
Here at Quantum, we specialise in the wholesale supply of products for tiling, from stylish trims and tiles through to silicone, tile cleaners and tile cutters. Our products are available throughout the UK and Ireland, so if you are interested in stocking our range, please contact the team today.